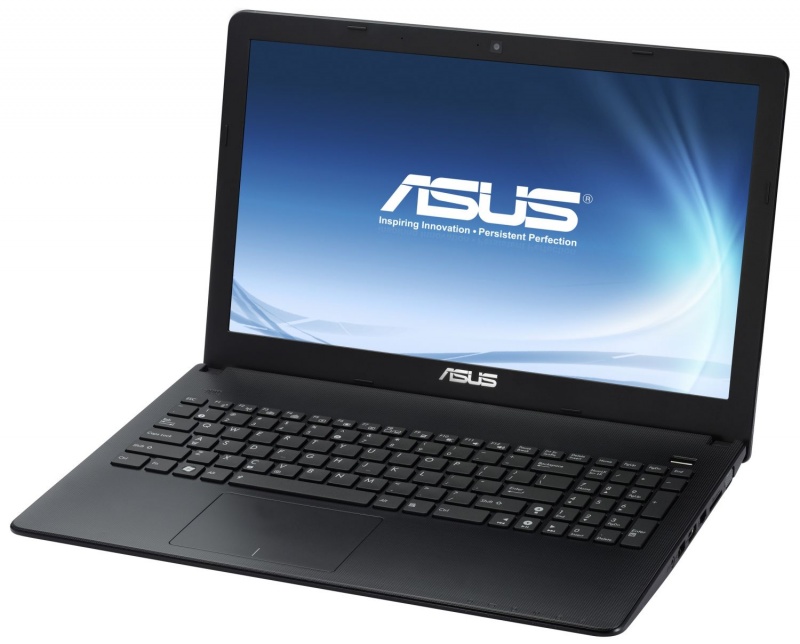
The ASUS X502CA is a sleek and reliable laptop designed to cater to everyday computing needs. While it’s a capable machine, keeping its drivers updated is crucial to ensure optimal performance, especially when running Windows 8.1. If you’re looking to download and install the correct graphics driver for the ASUS X502CA, this guide has got you covered.
Why Update Your Graphics Driver?
Graphics drivers are essential software that enable your computer’s operating system to communicate effectively with the hardware. Updating the graphics driver for your ASUS X502CA ensures:
- Improved Performance: Updated drivers can optimize the graphical performance of your laptop, allowing you to run applications more smoothly.
- Bug Fixes: Manufacturer updates often fix glitches or bugs in older driver versions.
- Compatibility: Up-to-date drivers are critical for compatibility with newer applications and games.
Step-by-Step Guide to Download and Install ASUS X502CA Graphics Driver for Windows 8.1
Step 1: Identify Your Graphics Hardware
Before downloading a driver, it’s essential to know the specific graphics hardware in your ASUS X502CA. Most ASUS X502CA models come equipped with Intel integrated graphics.
- Check Your System Details:
- Press
Windows + Rto open the Run dialog. - Type
dxdiagand hit Enter. - Navigate to the Display tab to view your graphics hardware details.
- Press
Step 2: Visit the Official ASUS Support Website
To ensure you’re downloading authentic and compatible drivers, always use the official ASUS support website.
- Open your browser and go to the ASUS Support website.
- Use the search bar to type in your laptop model: “ASUS X502CA.”
- Navigate to the Drivers & Tools section.
Step 3: Select Your Operating System
From the drop-down menu, select Windows 8.1 (64-bit) as your operating system.
Step 4: Locate and Download the Graphics Driver
In the list of available drivers:
- Look for the Graphics Driver section, typically labeled as “VGA” or “Display Driver.”
- Download the latest version of the driver.
Step 5: Install the Graphics Driver
After downloading the driver, follow these steps to install it:
- Locate the File: Navigate to the folder where the driver file was downloaded.
- Run the Installer: Double-click the file to begin installation.
- Follow On-Screen Instructions: Proceed with the installation by following the prompts.
- Restart Your Laptop: Once the installation is complete, restart your ASUS X502CA to apply changes.
Troubleshooting Tips
If you encounter any issues during installation, consider the following:
- Driver Compatibility: Ensure you’ve selected the correct driver for Windows 8.1.
- Reinstall the Driver: If the driver fails to install, uninstall the previous version and try again.
- Windows Update: Check for pending Windows updates, as they can sometimes resolve driver conflicts.
Conclusion
Updating the graphics driver for your ASUS X502CA running Windows 8.1 is a straightforward process that can significantly enhance your laptop’s performance. By following this guide, you can ensure your system runs smoothly with the latest driver version.
For additional support, consider reaching out to ASUS’s customer service or exploring forums for solutions to specific issues. Keeping your drivers up to date is a small step that can make a big difference in your laptop’s overall performance.